How to Repair a Hole in Your Roof
A hole in your roof means trouble if you let it sit. Water gets in and messes up your ceilings or walls. But with some basic steps, you can patch it up and stop the damage.
I’ve fixed a few roof holes myself over the years. It saves money compared to hiring someone right away. Just make sure you check everything carefully first.
This guide covers tools, steps, and when to get help. It focuses on common asphalt shingle roofs. That way, you handle the roof repair Long Island without surprises. Let’s dive into how to repair a hole in your roof.
Why Roof Holes Need Quick Fixing
Holes often come from storms or old age. And when rain hits, it soaks the wood underneath. So, the structure weakens over time.
Besides that, mold starts growing in damp spots. Then, your air quality drops inside the house. Therefore, patching fast avoids health issues too.
Pests find holes inviting as well. For example, squirrels chew around them to get in. Consequently, one small hole leads to bigger problems if ignored.
DIY Roof Hole Repair: What You’ll Need
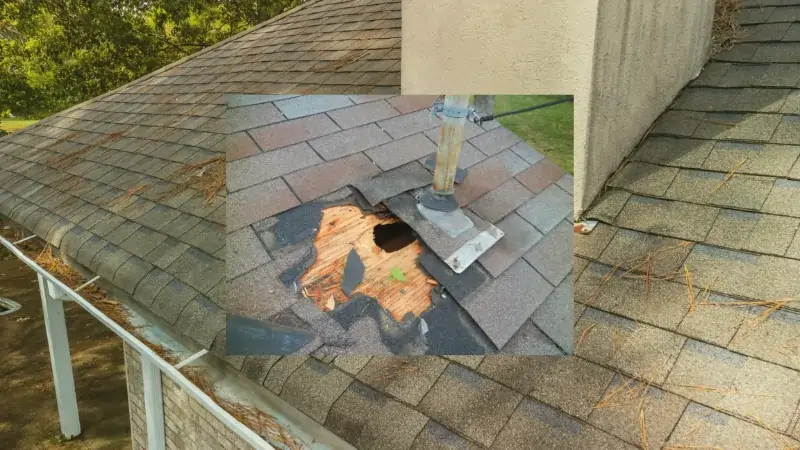
Gather a hammer and pry bar for removing old parts. Also, grab a utility knife for cutting materials. These basics make the job go smoothly.
Next, pick up plywood and roofing felt from a store like Home Depot. Don’t forget shingles that match your roof. Plus, roofing nails hold everything in place.
Safety items matter a lot here. So, get gloves and goggles to protect yourself. If needed, rent a ladder from Lowe’s for steady access.
Step-by-Step Roof Hole Repair Process
Step 1: Inspect and Locate the Damage
Climb up safely and look for wet spots or cracks. Meanwhile, check the attic for light coming through. That pinpoints the hole quickly.
Take notes on the size and shape. Afterward, plan your materials based on what you see. This keeps the repair accurate.
Step 2: Remove Old Shingles and Nails
Pry up damaged shingles gently. Then, pull out any rusty nails left behind. This clears the area for new work.
Be careful not to tear good shingles nearby. As a result, the patch blends in better. Clean up debris as you go.
Step 3: Cut Out the Damaged Decking
Mark a square around the hole. Next, use a circular saw to cut it out. But wear eye protection during this.
Remove the bad wood piece by piece. Consequently, you create a clean opening. Measure twice to avoid mistakes.
Step 4: Build a Frame Around the Opening
Cut 2×4 boards to fit the edges. Then, nail them securely into place. This frame supports the new decking.
Make sure it’s level all around. Otherwise, the patch might sag later. Use galvanized nails for longer life.
Step 5: Fit and Secure New Plywood
Measure and cut plywood to fill the hole. Slide it in and nail it down tight. Now, the roof feels solid again.
Choose weather-resistant plywood like from Georgia-Pacific. After that, test by walking on it lightly. It should hold without flexing.
Step 6: Cover with Roofing Felt or Tar Paper
Lay felt over the plywood smoothly. Staple it every few inches. This blocks water from seeping through.
Overlap the edges a bit. Therefore, no gaps let moisture in. Brands like GAF work well for this layer.
Step 7: Install New Shingles and Seal
Match new shingles to the old ones. Nail them starting from the bottom. Then, add cement along seams.
Use quality shingles from Owens Corning. Finally, press everything flat. Your roof looks good as new.
Safety Tips for DIY Roof Repair
Working on Ladders and Heights
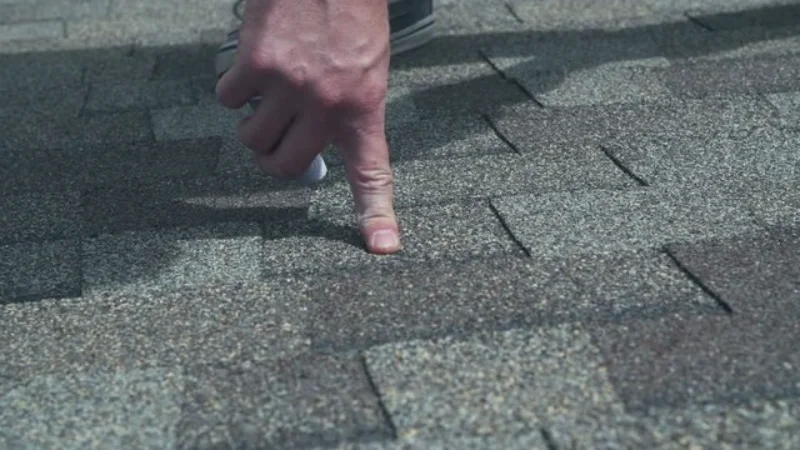
Place the ladder on even ground first. Have a buddy spot you while climbing. Never overreach to grab something.
Falls happen fast up there. So, use a harness if the roof is steep. Check the ladder’s condition before use.
Protective Gear
Put on sturdy gloves for handling sharp edges. Goggles keep dust out of your eyes. And wear boots with good grip.
Items from 3M are reliable for protection. Long pants help too against scrapes. Stay comfortable but safe.
Weather Considerations
Pick a sunny day without wind. Rain makes surfaces slippery and risky. Always watch the forecast ahead.
Cover the hole with a tarp like from Everbilt if storms approach. Wait until it’s dry to continue. Patience pays off here.
When to Call a Professional Roofer
Some holes are too big for solo fixes. For instance, if it’s over two feet wide, pros have the right equipment. They handle it efficiently.
Steep or metal roofs need expert skills. Contact groups like the National Roofing Contractors Association for trusted names. This ensures proper work.
If you’re not comfortable with heights, skip DIY. A roofer spots other issues too. In the end, it saves time and worry.
Final Thoughts On How to Repair a Hole in Your Roof
Patching a roof hole isn’t too hard with preparation. But safety comes first every time. Quick action keeps your home protected.
I’ve seen small fixes prevent major leaks. If it seems tricky, call in help. Your roof will thank you for it.

